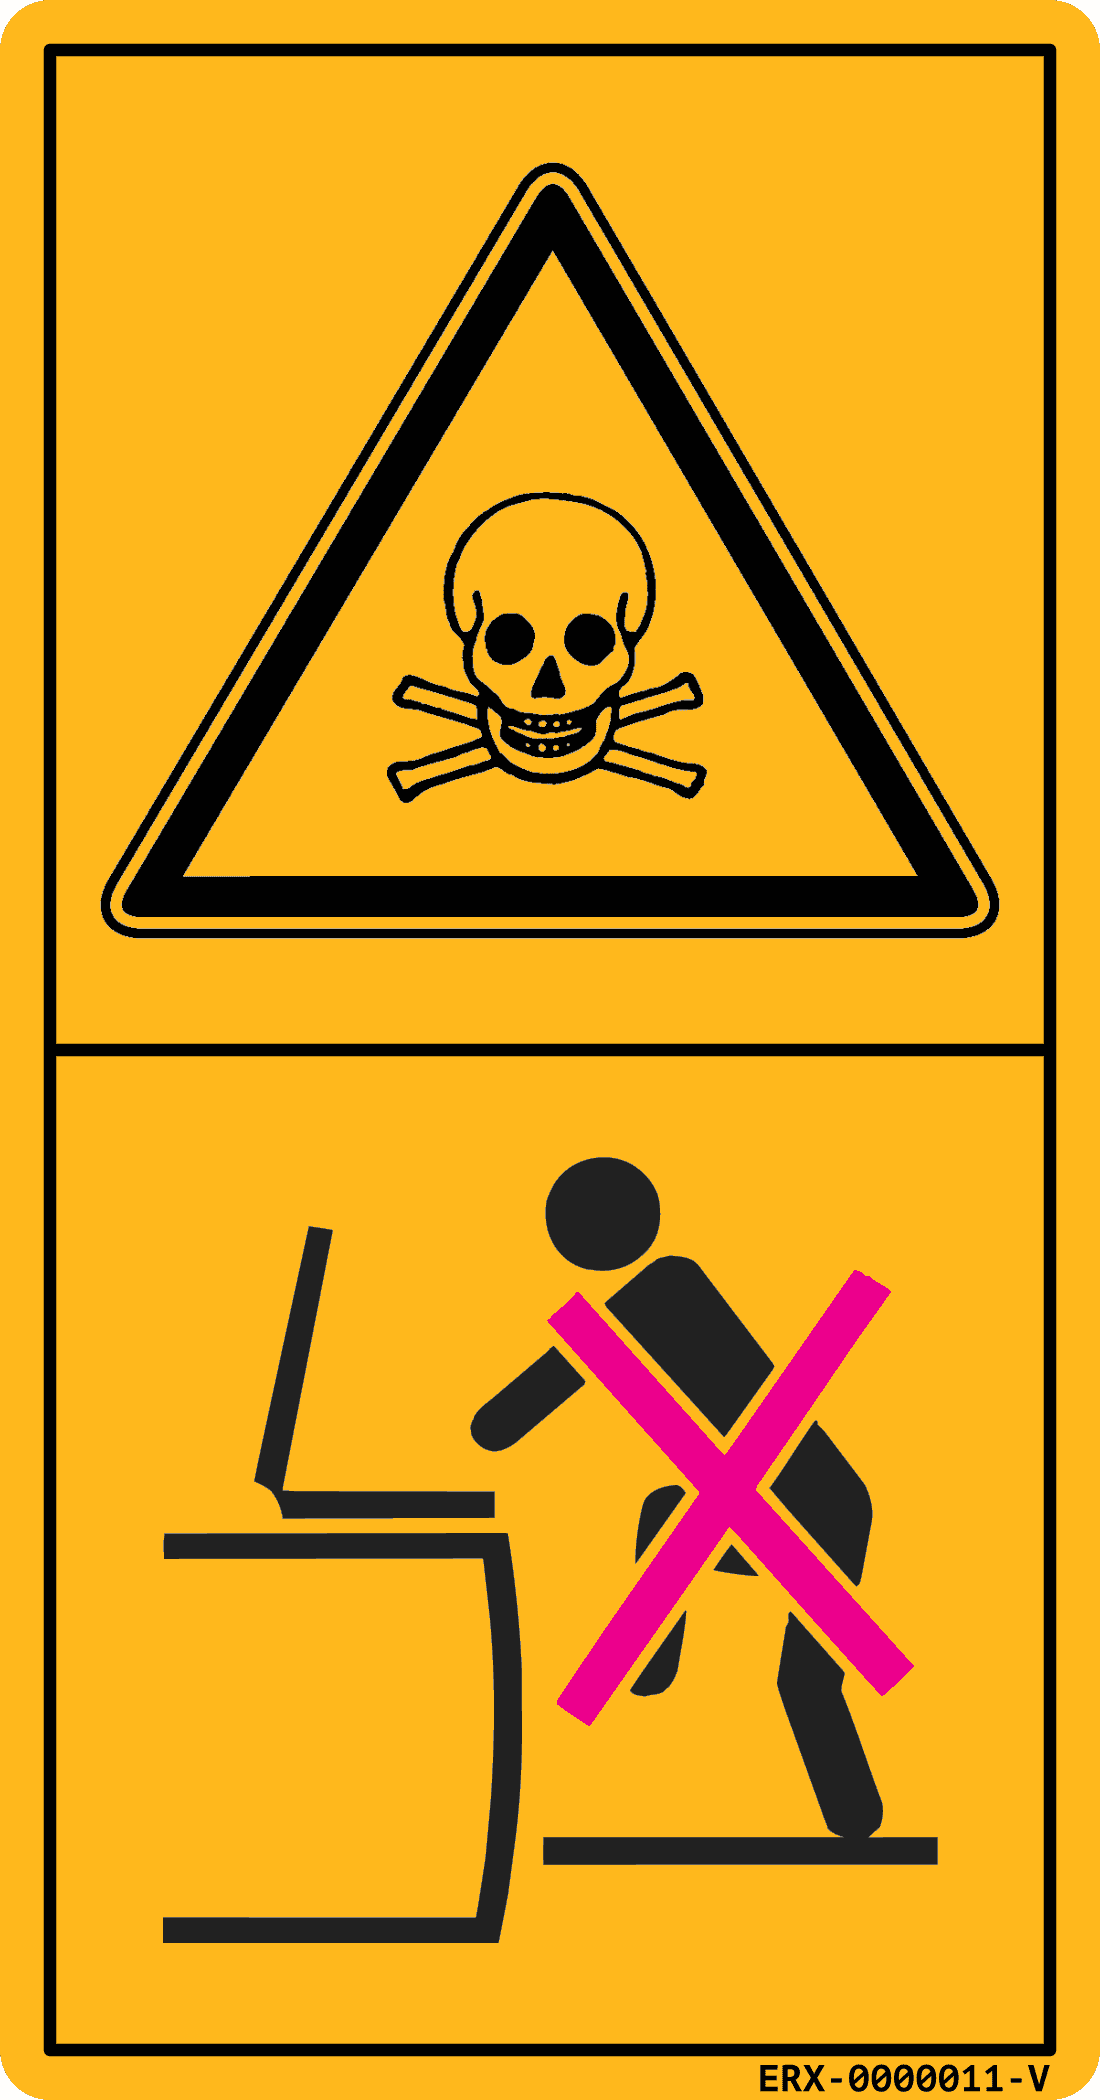
WARNING
Never get into the tanks.
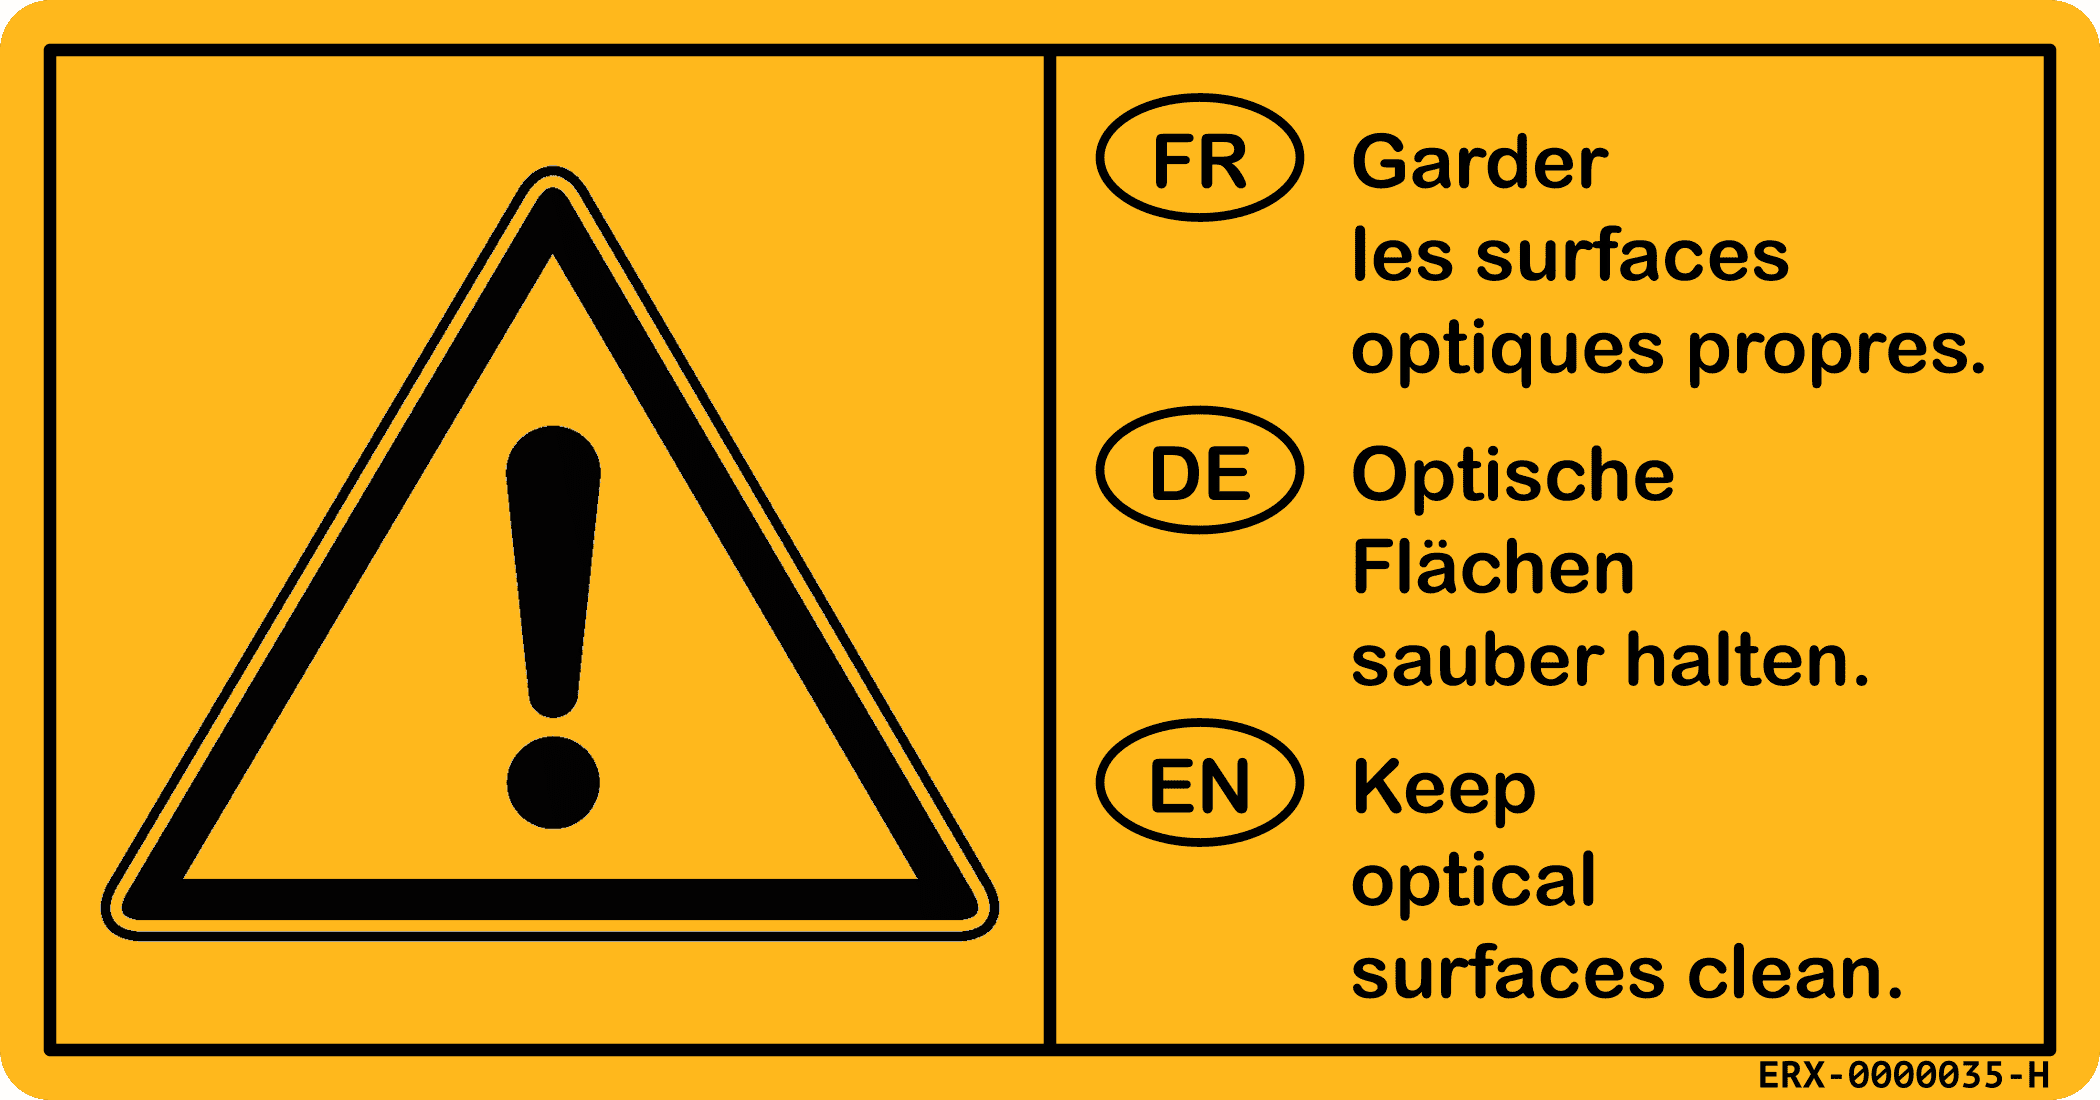
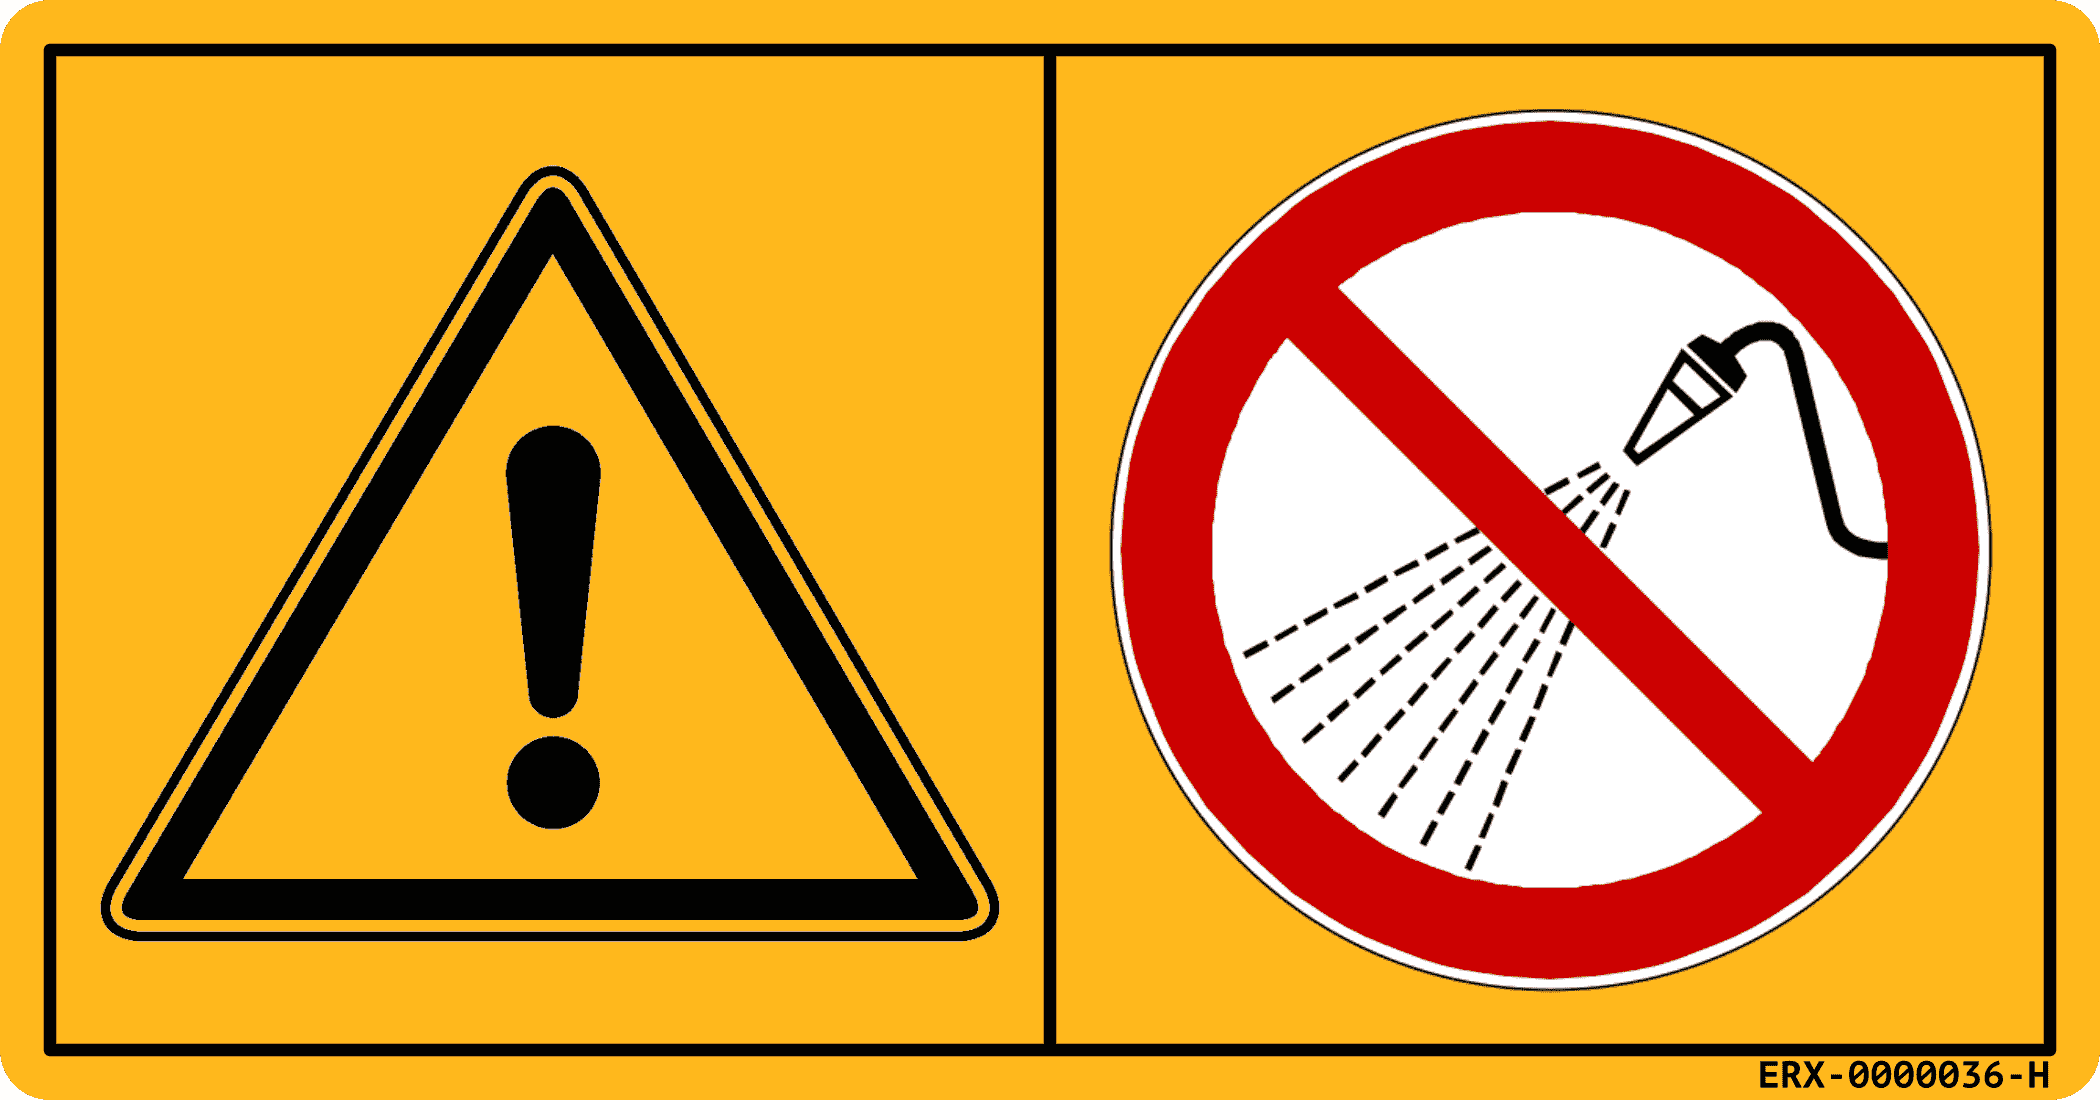
INFORMATION
Do not use a pressure washer to clean the Vision boxes.
-
Clean the machine in authorized areas.
-
Wash the sprayer with clean water only.
-
When cleaning with a pressure washer, do not insist on cylinder seals, hydraulic hoses, electrical harnesses, signal lights and stickers.
-
Keep optical surfaces clean.
-
After each cleaning of the machine, grease all lubrication points (Greasing and lubrication).

Cleaning the fluid system
The complete spray circuit cleaning process is described in the Cleaning after treatment chapter.
Cleaning of filters
-
Specifications can be found in the Technical data chapter (Technical data).
-
Maintenance and replacement intervals are defined in the Periodicity table (Periodicity table).
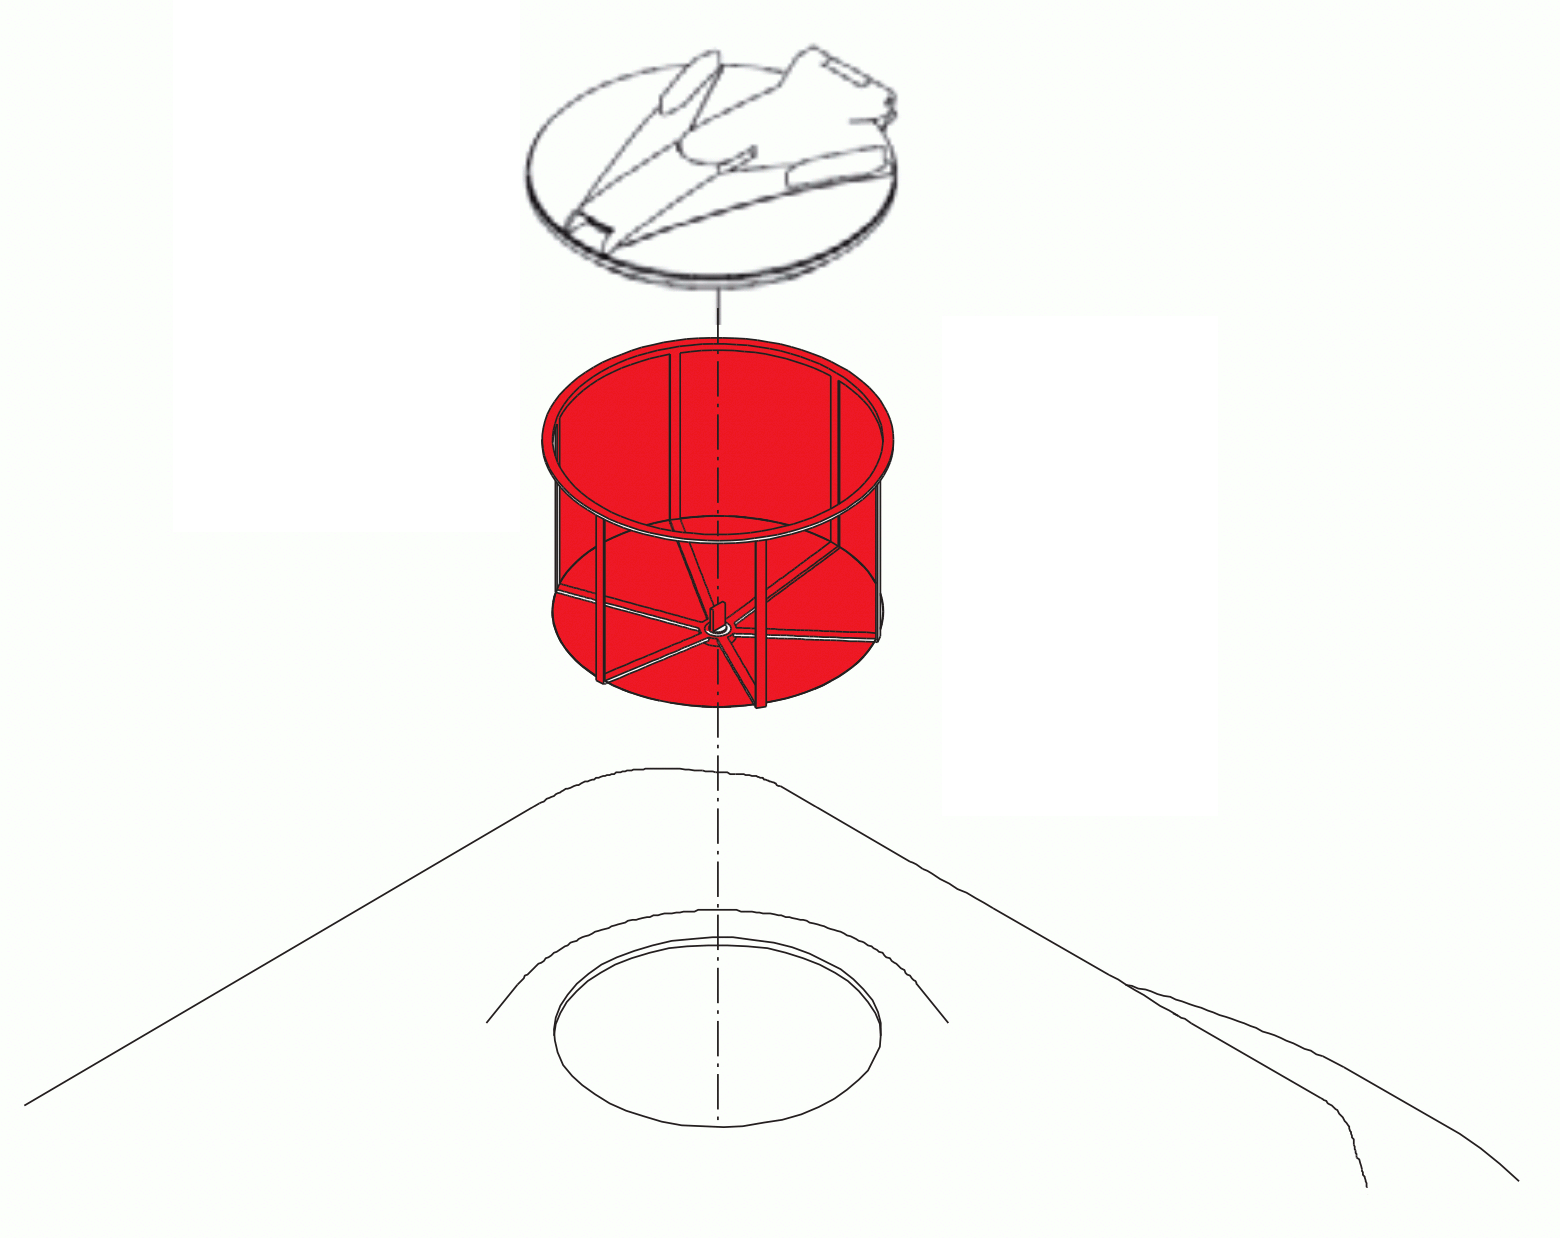
Filter baskets
There are two filter baskets, one per tank.
-
Open the manhole cover.
-
Remove the filter basket.
-
Clean the filter basket.
-
Place the filter basket in the filling hole (manhole) to prevent particles from entering the sprayer.
-
Close the cover.
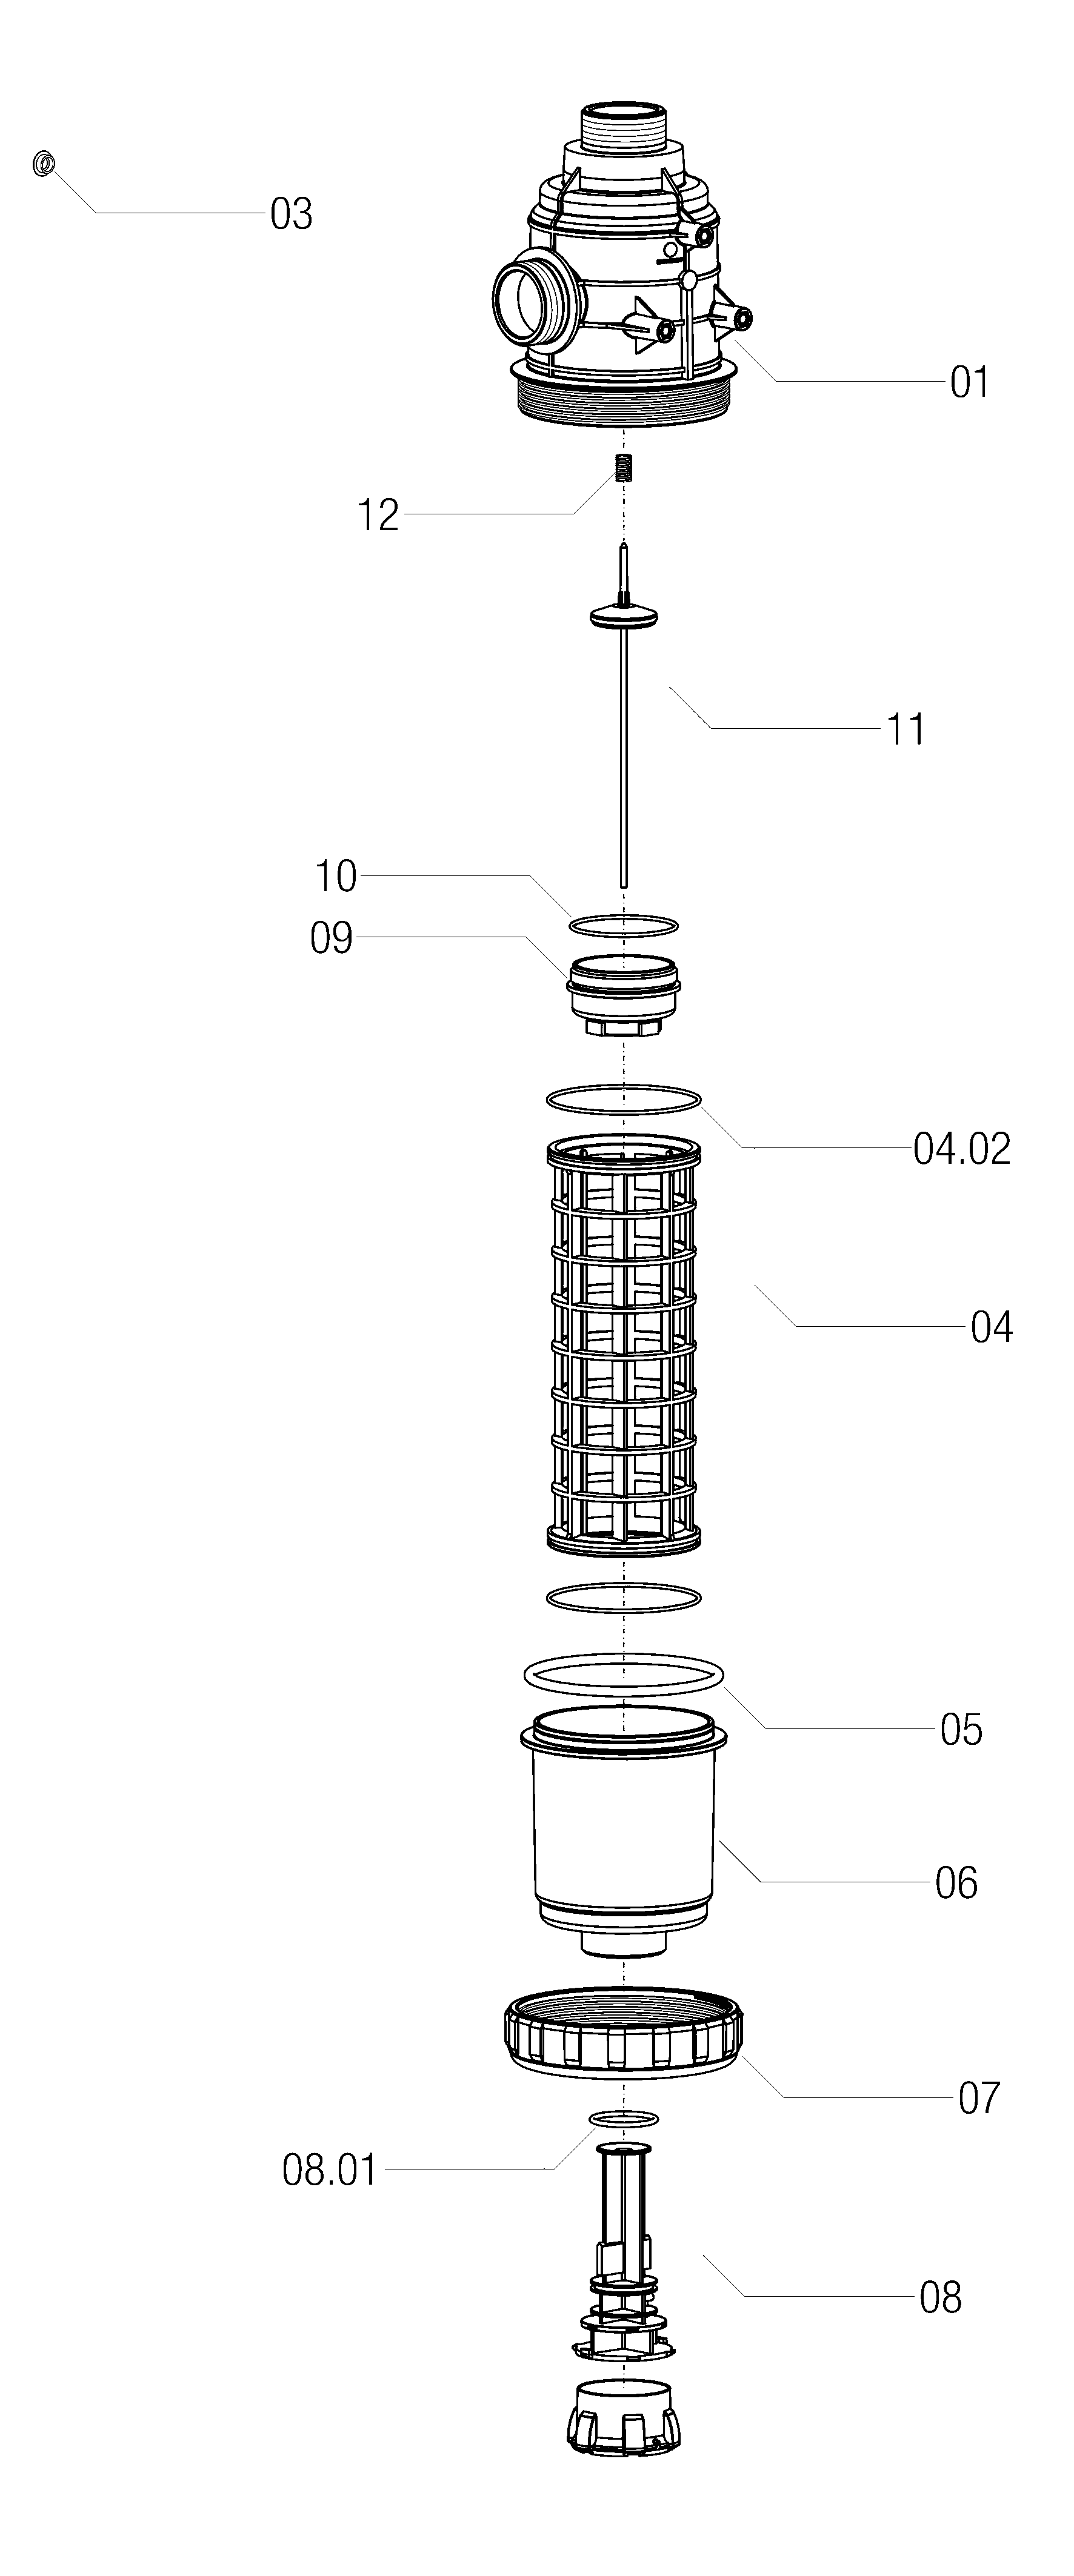
Suction filter
-
Remove the nut (07).
-
Remove the bowl (06).
-
Clean the filter (04).
-
Reassemble the whole unit.
-
Check for leaks.
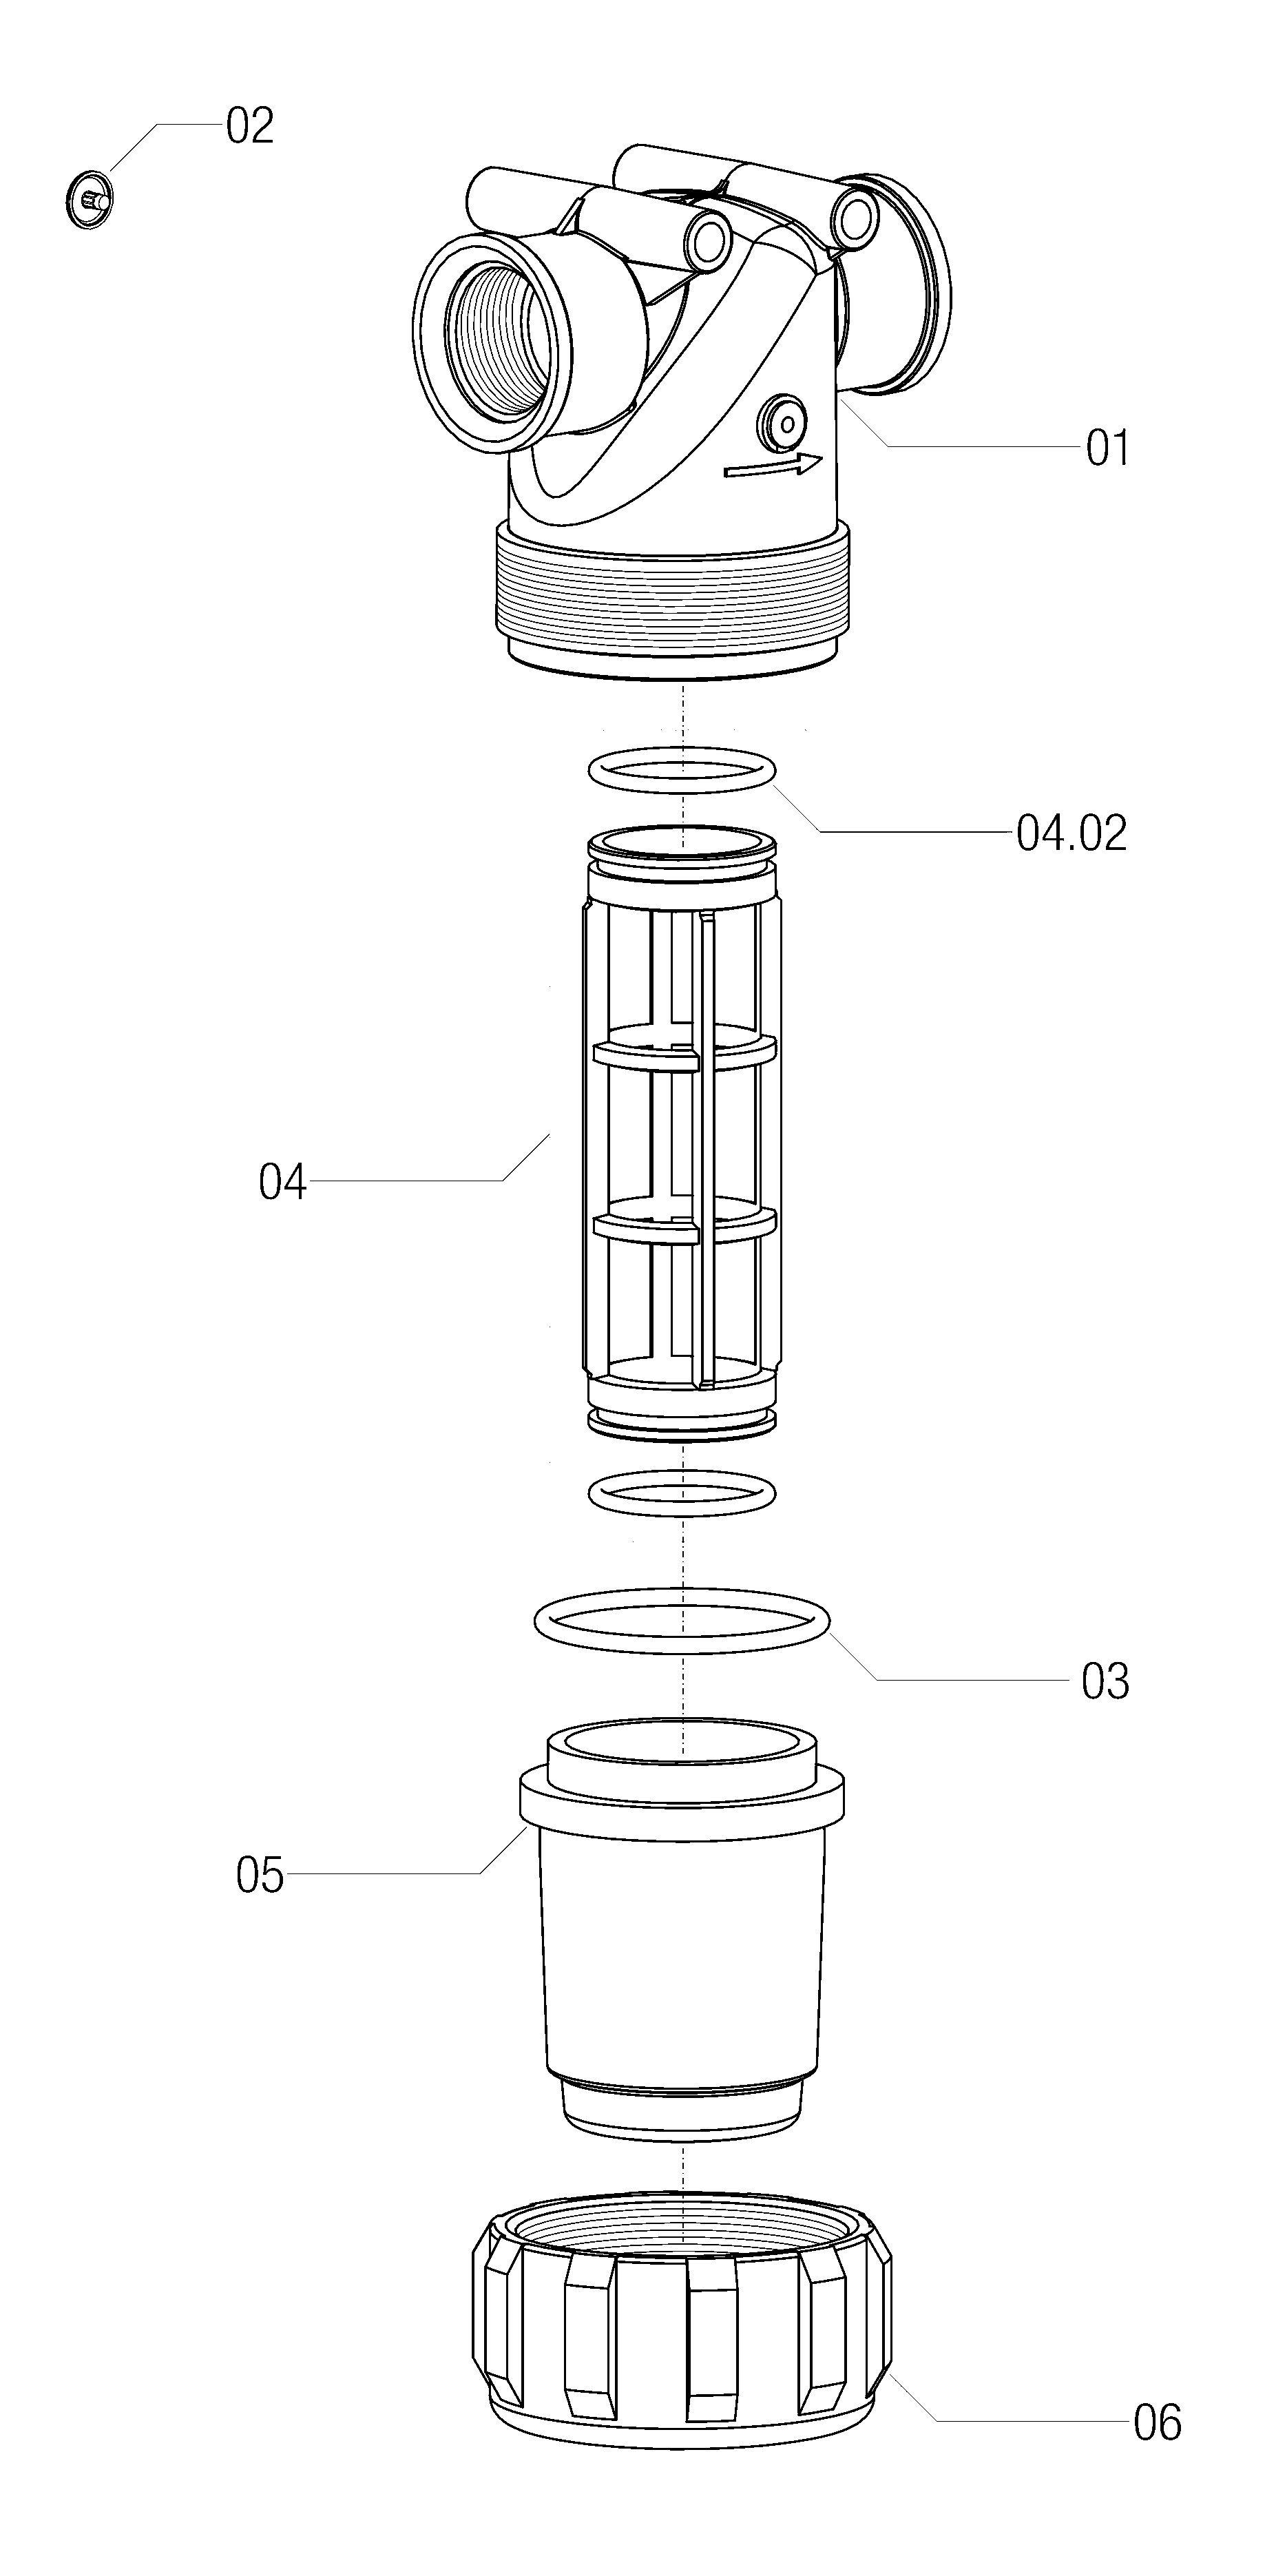
Section filter
-
Remove the nut (06).
-
Remove the bowl (05).
-
Clean the filter (04).
-
Reassemble the whole unit.
-
Check for leaks.
Nozzle cleaning
WARNING
Do not blow with your mouth into nozzles that have been in contact with plant protection products. Do not use a metal object to unclog the nozzle.
Remove the clogged nozzle by unscrewing the bayonet nut a quarter turn. Clean the nozzles with water and a brush and compressed air.
For checking and cleaning the nozzles when treating with crop protection products, see Nozzle check chapter (Nozzle check).
-
Dirt and residue can build up and partially or completely clog the nozzles.
-
Nozzles can be cleaned with a soft brush or compressed air to remove dirt and residue.
-
A detergent can be used to clean the nozzles.
-
An ultrasonic cleaner can also be used to help loosen dirt and residue.
-
Rinse the nozzles thoroughly with water.
Check the flow rate of a nozzle
-
Take a measuring cup.
-
Place the cup under the nozzle to capture the entire spray.
-
Using the Nozzle check function, select the nozzle to be checked and stop the jet after 60 seconds.
-
Measure the volume of liquid using the scale on the cup or a balance (do not forget to deduct the weight of the container).
-
For a 60 seconds measurement, the measured volume corresponds to the flow rate per minute.t par minute.

Blocked solenoid valve
After cleaning or replacing a nozzle, if the nozzle flow rate is low, less than 85 % of the nominal flow rate, or zero, the solenoid valve piston may be stuck.
-
The plunger can be released with compressed air.
To do this:
-
Make sure there is no more mixture in the machine and use only clear water due to the risk of splashing.
Dismantling the nozzle
-
Check the flow rate without the nozzle by activating the solenoid valve in question using the Nozzle check function.
-
The jet should be straight and strong.
-
Activate the nozzle and blow out with compressed air.
-
If necessary, repeat the operation several times.
-
The jet should now be straight and strong.
-
If the flow rate remains low, the spray bar may be out of adjustment. In this case contact your customer support.
Tank cleaning
The cleaning of the tanks is described in the Cleaning after treatment chapter.